meyeri
PMA Member
Hey guys, with the freezing cold temps and the fact that there is still 5 or so inches on the ground in my areas I figured I'd take on a project while the jerky was dehydrating the last couple days.
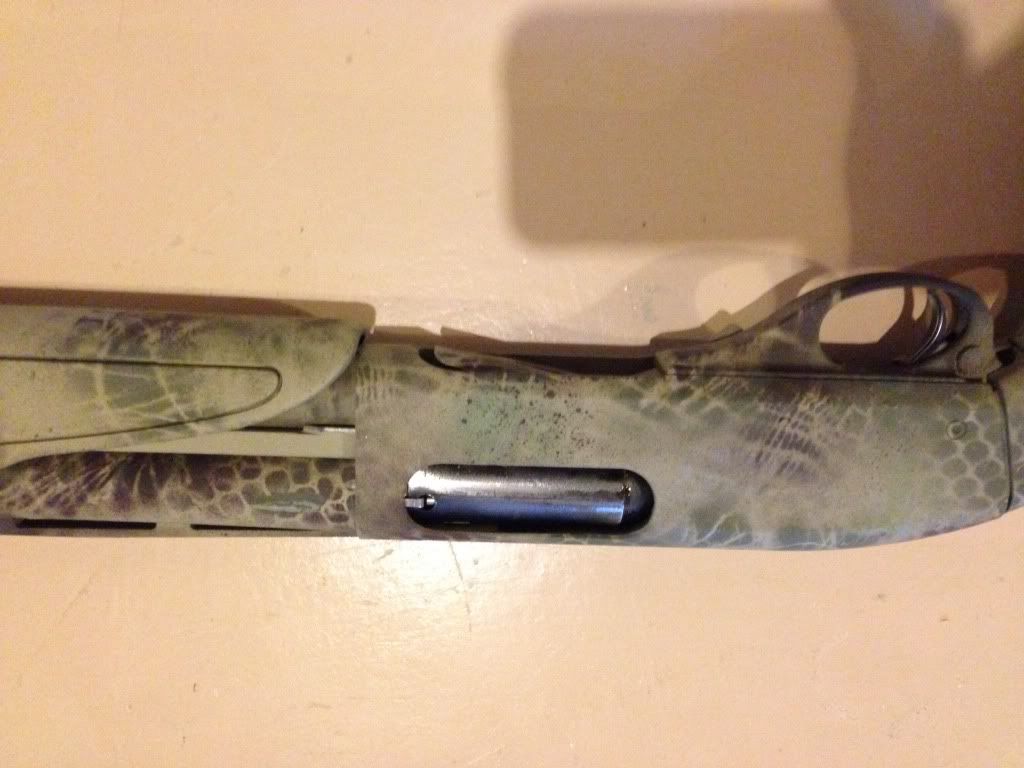
I posted a while ago about 870 cleaning because I had some pitting underneath the fore end. My solution was to clean it up, scrub off the little rust areas and throw on some camo paint.
This is gonna be my designated turkey gun and since I'm not a fan of most main stream hunting camo patterns I decided to make my own. My younger brother is an Army sniper so he gave me some tips on what not to do and it helped out a lot.
I figured I'd show how I did it in case any one else wants to try it themselves.
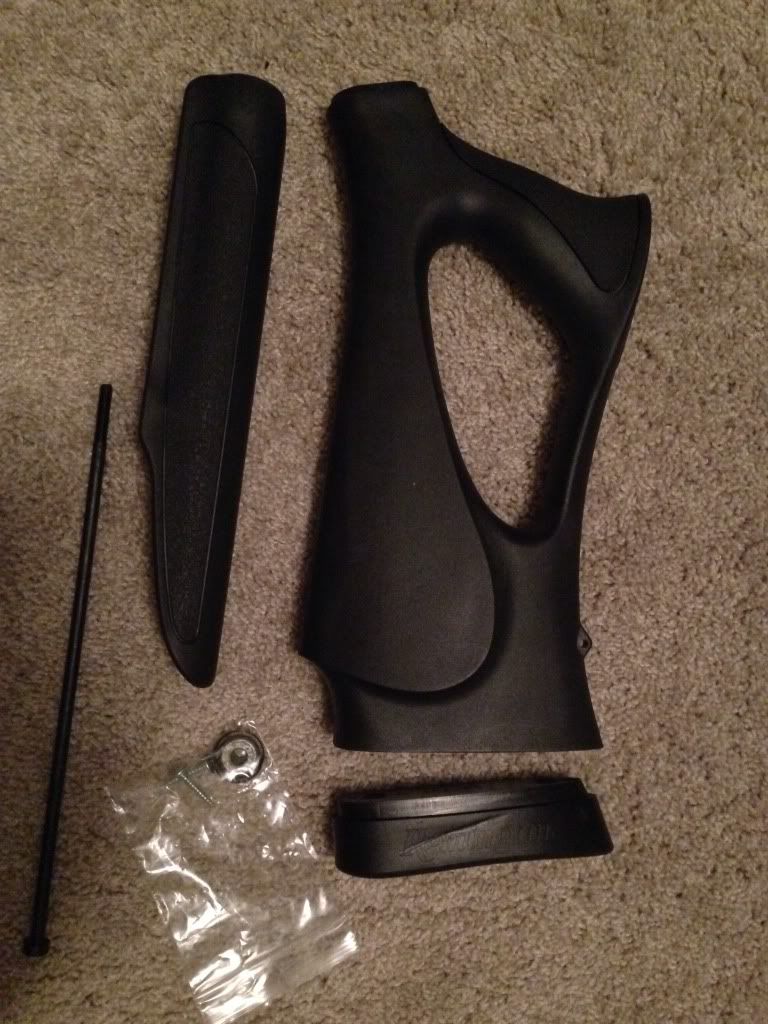
I started out by replacing the wood stock with a sure shot synthetic. It cost me about $65 on Amazon shipped to my door.
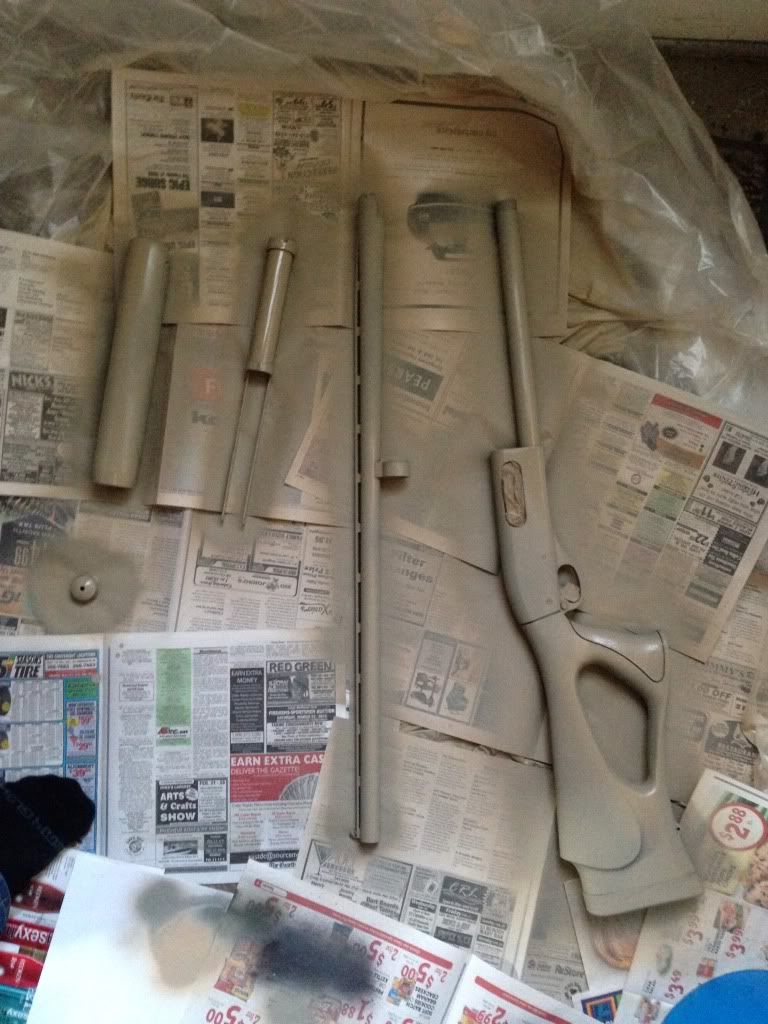
Then I cleaned off the gun with an alcohol wipe, let it dry and primed it several times. Make sure to take it down and tape over the areas that shouldn't get painted; this is very important as you don't want the inside mechanical parts to get a coat.
I taped over the sight bb, trigger area, and entire interior of the gun. I didn't paint the metal piece that houses the firing pin. ( I'm not sure of the technical name but it's the piece that slides back and forth right behind the shell.).
Best to start out with a light background and go dark on top.
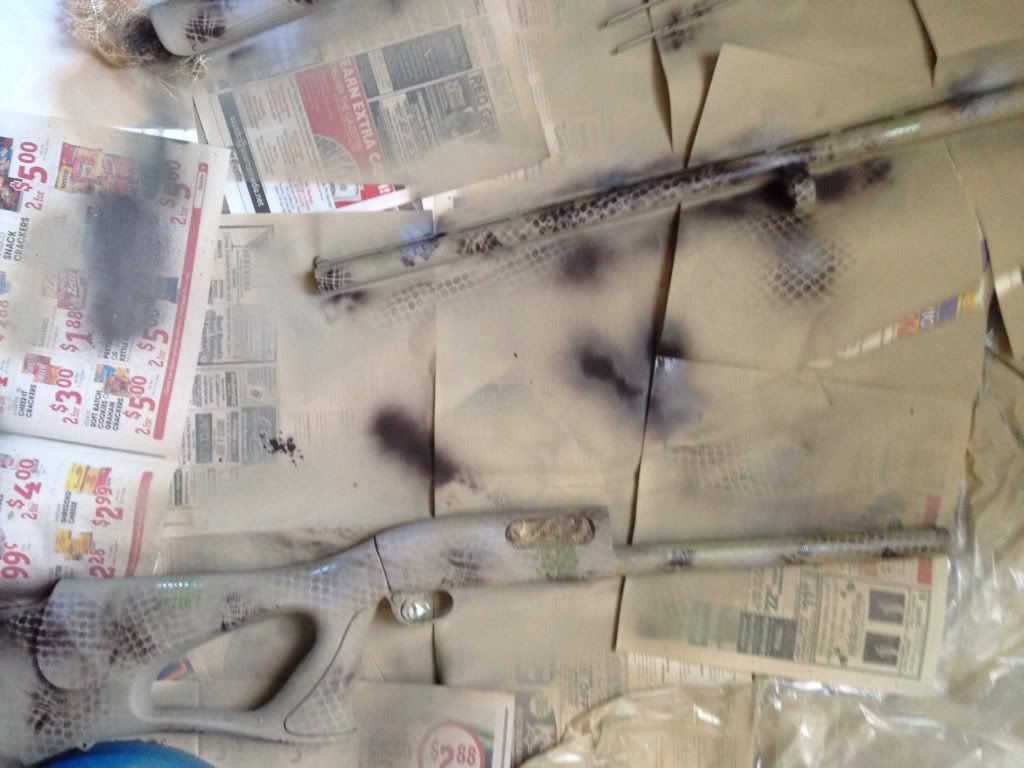
I then used a mesh net to get the desired texture patterns and used it like a stencil. I also took some burlap and pulled it apart to get some different shapes besides the snake skin stencil look.
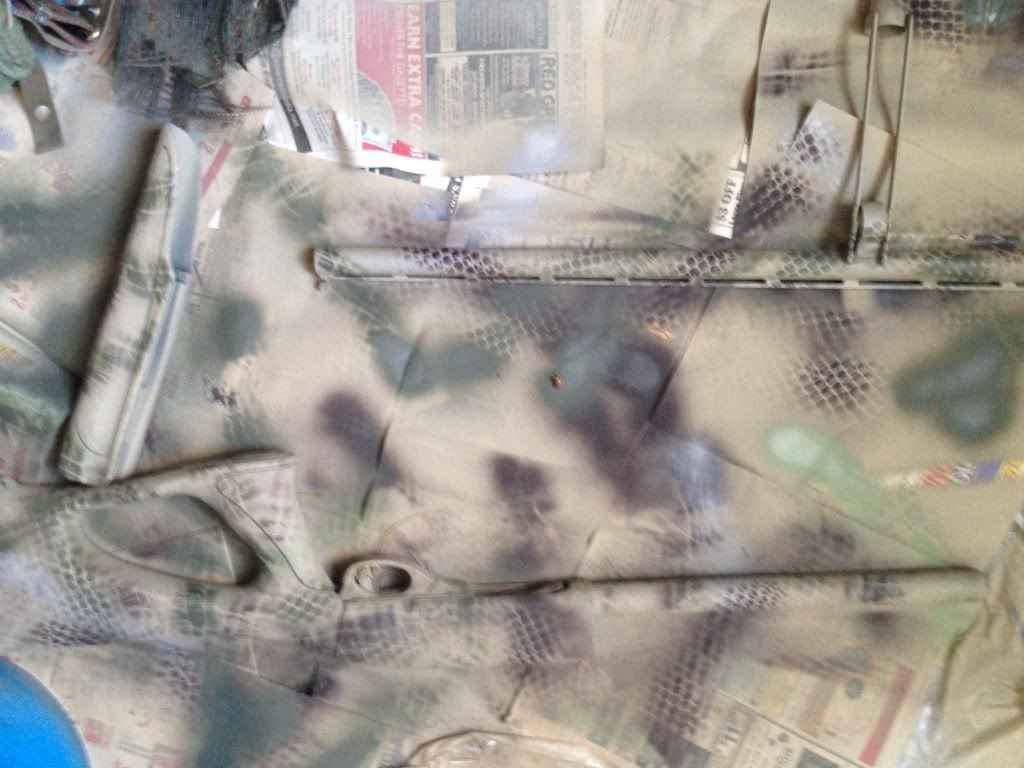
Took quite a few coats of stenciling to get the patterns and contrast I wanted. The best part is if you mess up you can just spray over it. Be sure to let it sit long enough between coats and spray paint in a well ventilated area.
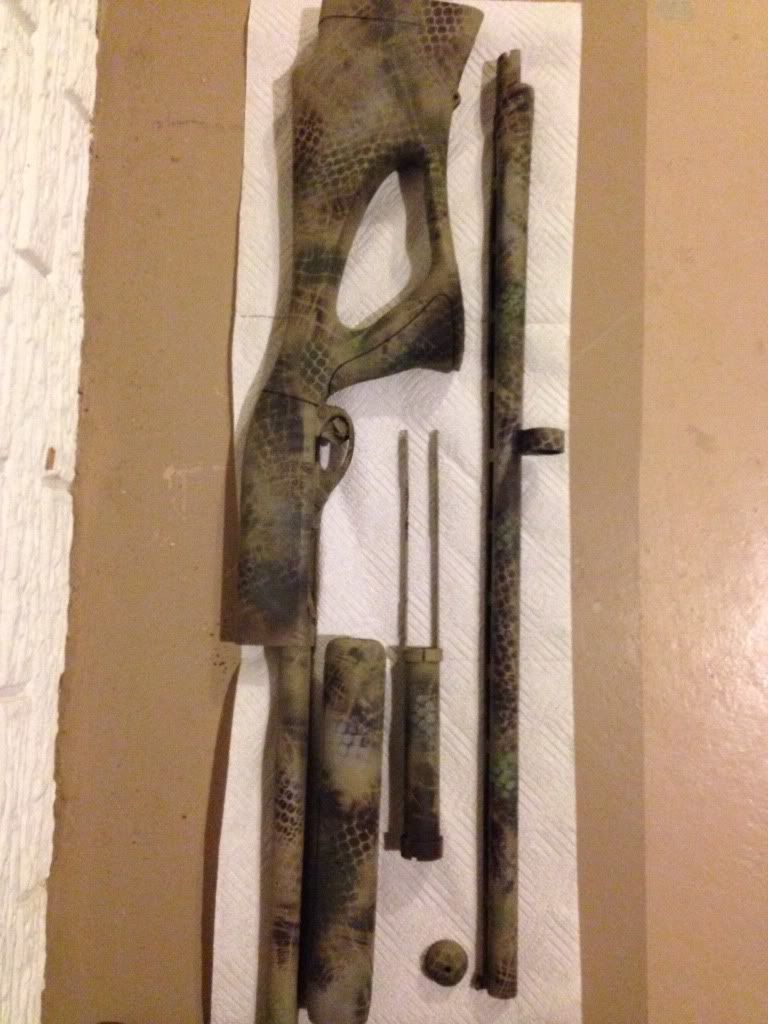
I think I used 6 different colors and all were flat, all weather, all material adhesive spray paint. Cost about $25 for all of them.
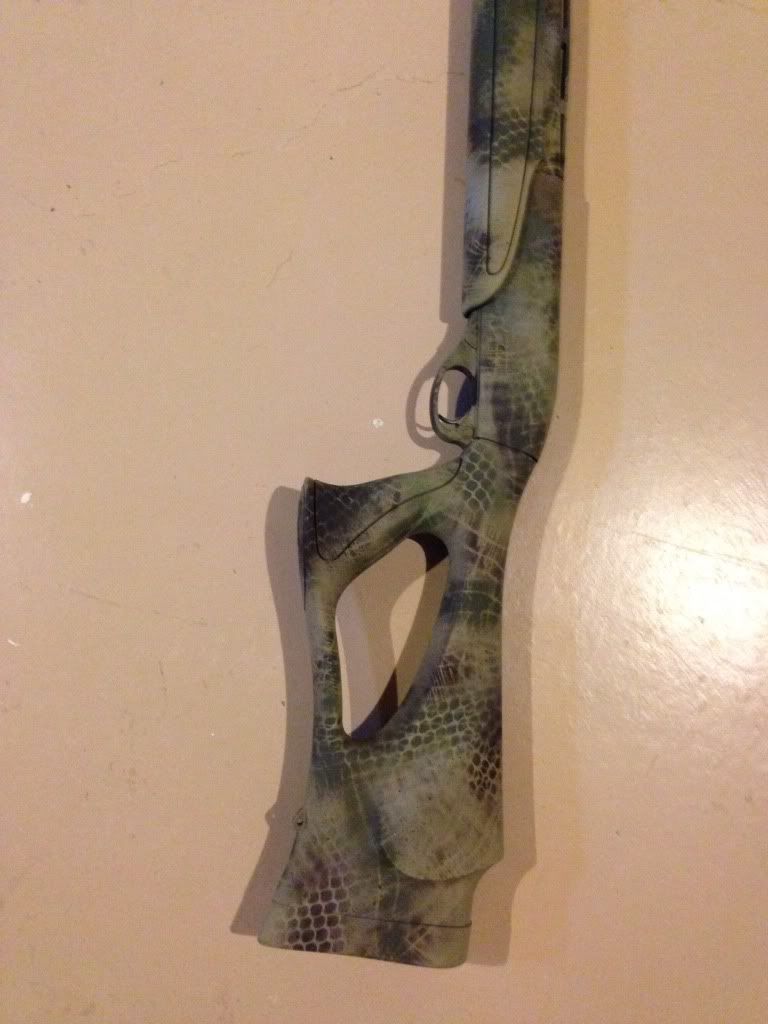
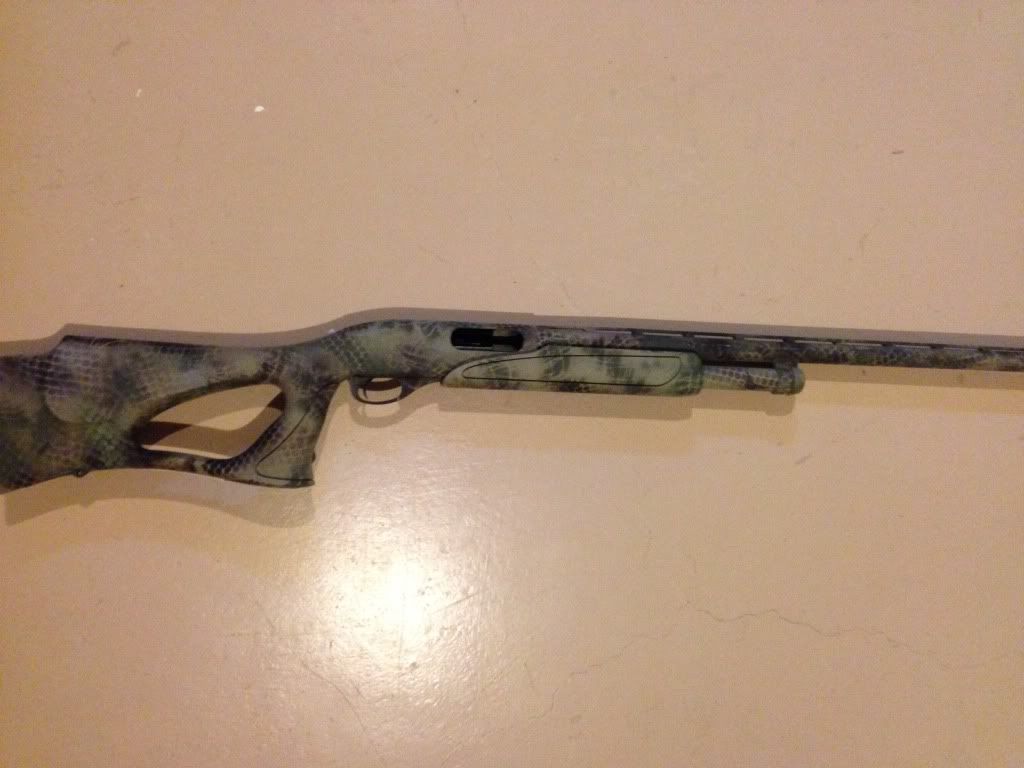
Not to bad for my first attempt, we'll see how it holds up over time. My brother said his will scrape and scratch over time but he just re paints it again. I'm thinking about doing this to a couple other guns I own as well.
I posted a while ago about 870 cleaning because I had some pitting underneath the fore end. My solution was to clean it up, scrub off the little rust areas and throw on some camo paint.
This is gonna be my designated turkey gun and since I'm not a fan of most main stream hunting camo patterns I decided to make my own. My younger brother is an Army sniper so he gave me some tips on what not to do and it helped out a lot.
I figured I'd show how I did it in case any one else wants to try it themselves.

I started out by replacing the wood stock with a sure shot synthetic. It cost me about $65 on Amazon shipped to my door.

Then I cleaned off the gun with an alcohol wipe, let it dry and primed it several times. Make sure to take it down and tape over the areas that shouldn't get painted; this is very important as you don't want the inside mechanical parts to get a coat.
I taped over the sight bb, trigger area, and entire interior of the gun. I didn't paint the metal piece that houses the firing pin. ( I'm not sure of the technical name but it's the piece that slides back and forth right behind the shell.).
Best to start out with a light background and go dark on top.

I then used a mesh net to get the desired texture patterns and used it like a stencil. I also took some burlap and pulled it apart to get some different shapes besides the snake skin stencil look.

Took quite a few coats of stenciling to get the patterns and contrast I wanted. The best part is if you mess up you can just spray over it. Be sure to let it sit long enough between coats and spray paint in a well ventilated area.

I think I used 6 different colors and all were flat, all weather, all material adhesive spray paint. Cost about $25 for all of them.


Not to bad for my first attempt, we'll see how it holds up over time. My brother said his will scrape and scratch over time but he just re paints it again. I'm thinking about doing this to a couple other guns I own as well.


