

Buckmaster14
New Member
Never worry about takin your dried turkey fan into the rain again! Here is all you gotta do.
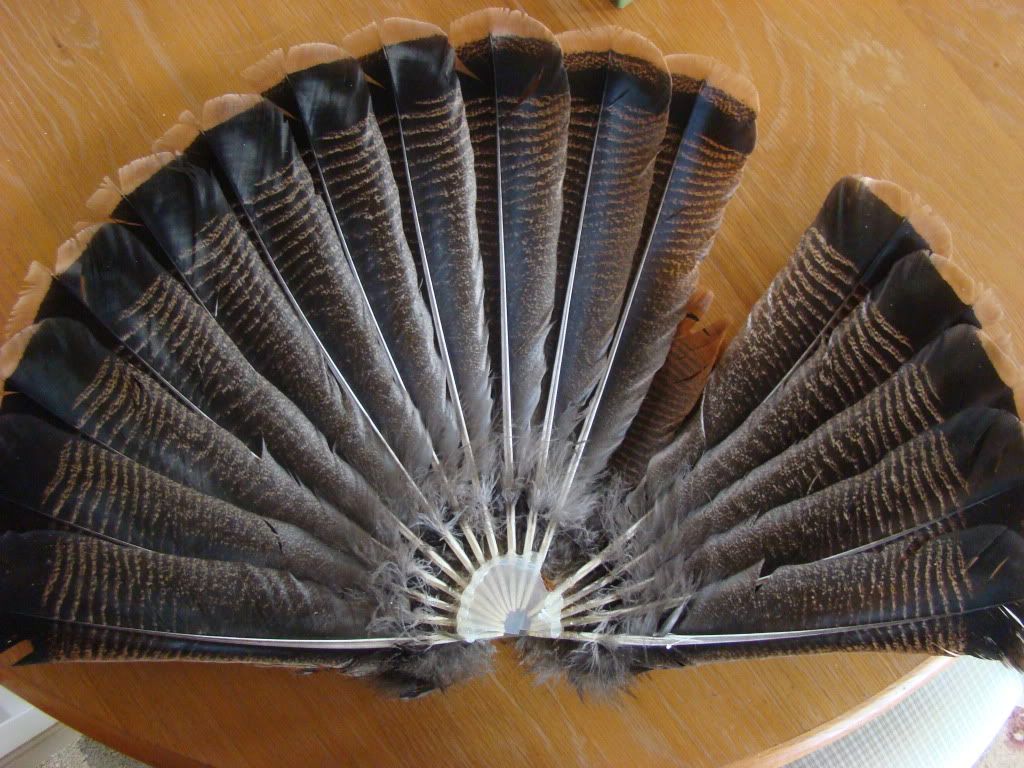
Take your turkey fan, seperate it into 3 parts as shown in muddys tutorial, lay the fan on a big piece of flat cardboard, fan it out and pin it. Then take a pen or marker and trace the outline of the fan. This will be your guideline for later. After tracing, unpin the fan. Heres the fun part. Keeping the feathers in order, cut each individual tail feather out. Use your knife and scape all meat and fat off the quills, and dip the quills in hot water mixed with dawn soap to remove the grease. Keep the feathers in order! After all feathers have been seperated and cleaned, find a milk jug, or something similar ( i used an old storage container, its stronger) and cut out a half circle, big enough to cover the quill ends.
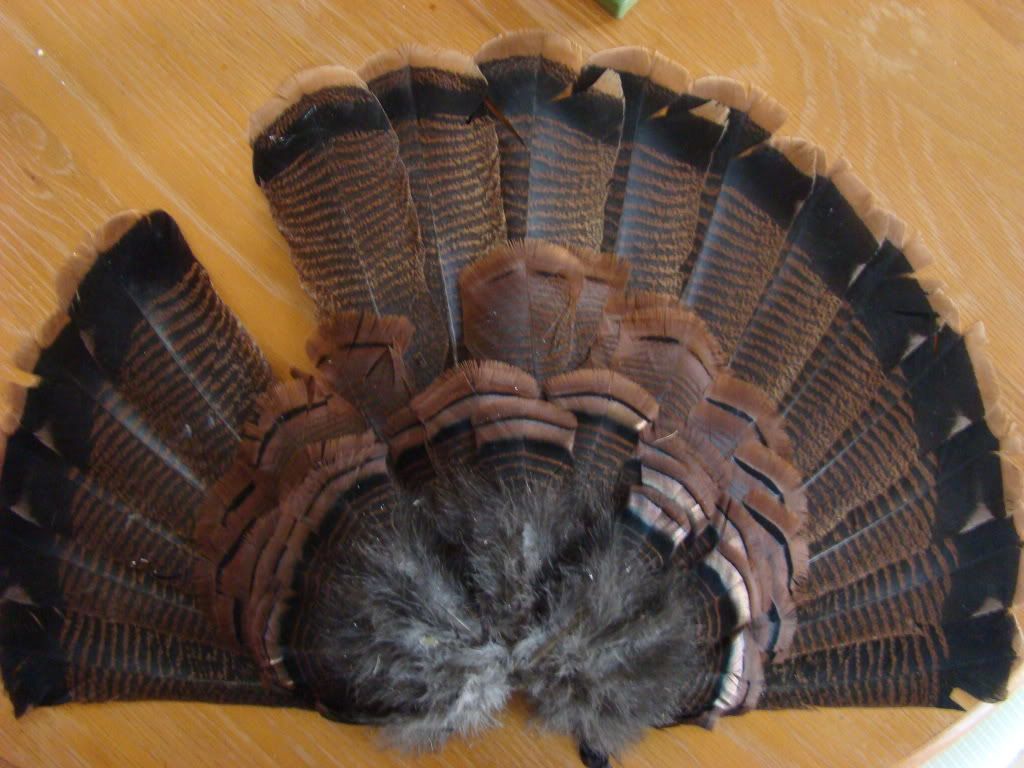
Now, using the tracing you made of the fan as a guide, place the feathers back in the arch. When all the feathers are back in their original place, put the plastic piece over the quills and hot glue it in place. Do this on both sides. If you want the fan to have a curve, apply a little pressure to the plastic while the glue hardens, but dont press right away. Once the glue dries, your done! The other feathers you cut off can be done in a similar fashion, and glued to the fan.
Any questions please ask
Take your turkey fan, seperate it into 3 parts as shown in muddys tutorial, lay the fan on a big piece of flat cardboard, fan it out and pin it. Then take a pen or marker and trace the outline of the fan. This will be your guideline for later. After tracing, unpin the fan. Heres the fun part. Keeping the feathers in order, cut each individual tail feather out. Use your knife and scape all meat and fat off the quills, and dip the quills in hot water mixed with dawn soap to remove the grease. Keep the feathers in order! After all feathers have been seperated and cleaned, find a milk jug, or something similar ( i used an old storage container, its stronger) and cut out a half circle, big enough to cover the quill ends.
Now, using the tracing you made of the fan as a guide, place the feathers back in the arch. When all the feathers are back in their original place, put the plastic piece over the quills and hot glue it in place. Do this on both sides. If you want the fan to have a curve, apply a little pressure to the plastic while the glue hardens, but dont press right away. Once the glue dries, your done! The other feathers you cut off can be done in a similar fashion, and glued to the fan.
Any questions please ask
Last edited: