Buck Hollow Sporting Goods - click or touch to visit their website Midwest Habitat Company

Homebrew build 101

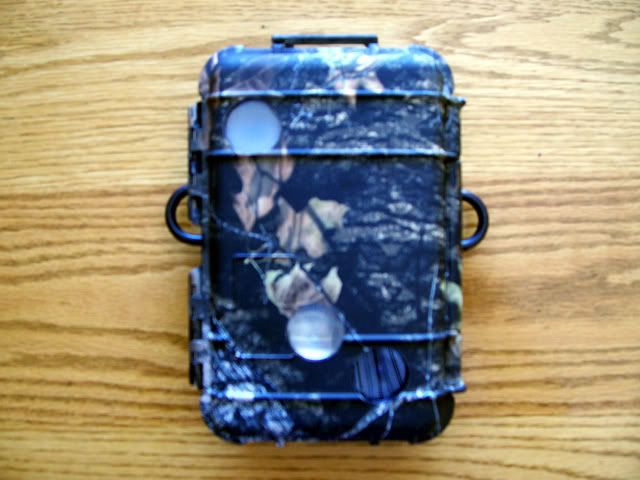
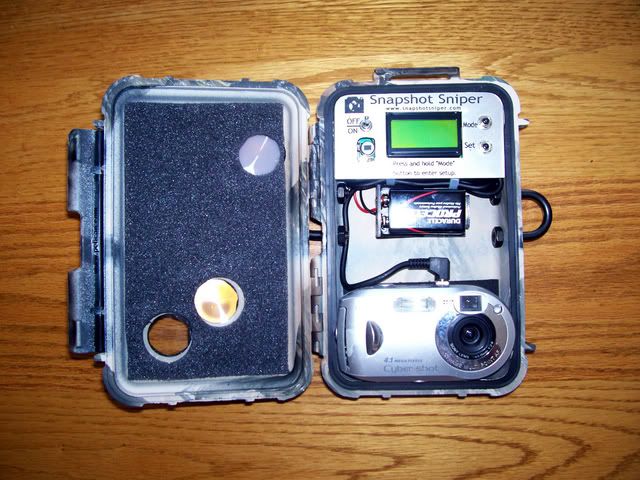
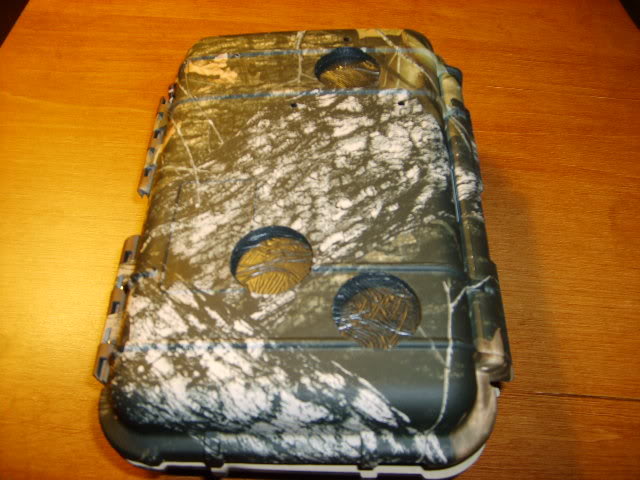
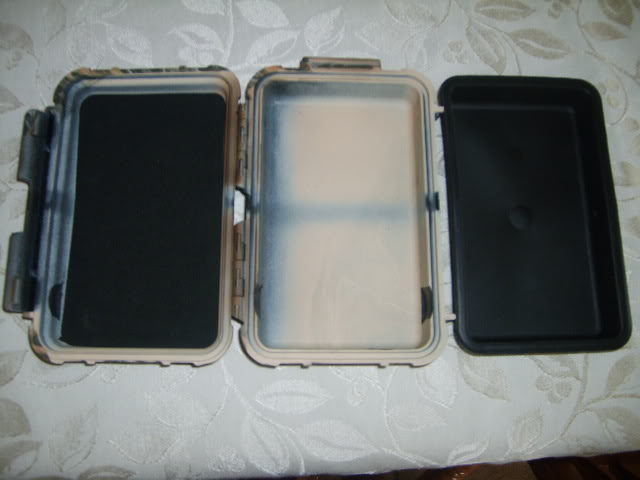
Any foam firm enough to press your camera firmly against the flash gasket with the lid closed will work. In my cases I only have a shallow cutout of the camera shape for quick placement. Nothing holds them, simply open and close your unit so the camera doesn't drop out when you do. I have resently started using the hinge shelf/bunge pictured above and will continue going that direction with mine.

By the way I know I am not Vman, I just thought I would jump in.
grin.gif
 
[ QUOTE ]
By the way I know I am not Vman, I just thought I would jump in.
grin.gif


[/ QUOTE ]

And we sure do appreciate the pics and advice...thanks!
waytogo.gif
 
Hey all,
I'm kind of new to this particular forum but I noticed many of you seem to be wanting to mod P41's. I'd highly encourage you to give it a try. Just finished my first cam and it was a P41. Quite a simple mod really. I used the stereo jack for my setup and it works great with that cam and looks nice as well. I bought a premade jack and the SA ribbon from Snapshot Sniper along with one of his boards and have been real pleased.
SSS Link

There is also a nice link to modding the cam for the stereo jack here:
Stereo Jack Mod Link

One thing I would mention about the modification link is that being my first time, I didn't have the guts to drill the hole without the cam opened up first. Actually I would probably do it that way next time around because I realized there was adequate room underneath. Still though, a drill press is key because it's so controllable and you can just barely poke through the case with one. Taking the cam apart first, then drilling works great too with a drill press. You can pretty much see where the right spot is for drilling but use the dash between the DSC and P41 wording on your cam makes for the right spot. The thing that I wasn't quite prepared for though was moving the board (basically the guts) out of the front half of the cam in order to do the required work. Scared the heck out of me but I just took my time and it was fine. The beauty of a P41 is that you can use side cutters to cut a couple little pieces of the plastic away inside to make room for the jack so there's no grinding like is necessary on some of the trickier mods. Big thing is to be gentle with the whole deal particularly with the plastic ribbons inside the cam. If you do that, you're good to go. What I was left with then was to solder the shutter, common, and cam power wires from the cable to the board which turned out to be not too tricky either. Main thing is to have a halfway decent soldering iron and a little thinner gauge solder is nice also. Anyway, here's how the whole thing turned out:

Cam2-1.jpg


Cam1.jpg
 
That is a very sharp looking setup. I believe there is a little more cost in this controller over the BG2. What are some of the advantages of this board. There are many good controllers out there and I have only Yetti and BG boards in trail cams.
 
[ QUOTE ]
That is a very sharp looking setup. I believe there is a little more cost in this controller over the BG2. What are some of the advantages of this board. There are many good controllers out there and I have only Yetti and BG boards in trail cams.

[/ QUOTE ]

I haven't used either of the boards you mentioned but I'm pretty sure that at least the BG2 uses dipswitches. I guess I'd consider that a plus for the SSS board. The settings are made via the LCD instead by using the two selector buttons to the right of the LCD screen. They go for $59 so they are a little higher. From what I've heard from other folks though, all 3 of those boards are of high quality and I particularly know a lot of people have good things to say about Hags. Just a matter of personal preference I think and I'm guessing often times just which one you try first. I wouldn't really advocate one over the other having not tried the other two, I just had great results and second to none customer service through Gary of SSS. The great thing is that most all of the homebrew suppliers seem to be top notch guys. The whole experience was a good time and I can see where this could be an addictive hobby.
 
[ QUOTE ]
Pete works?? I though he just set up trail cams...


[/ QUOTE ]
I haven't been able to get on the site for a week and a half to be able to defend myself.
 
[ QUOTE ]
[ QUOTE ]
Pete works?? I though he just set up trail cams...


[/ QUOTE ]
I haven't been able to get on the site for a week and a half to be able to defend myself.

[/ QUOTE ]

evil.gif
evil.gif


[ QUOTE ]
I can see where this could be an addictive hobby.


[/ QUOTE ]

Tell me about it
doah.gif
blush.gif


The foam in the lid...remove it, put the glass covers and all that in and then replace the foam?

I see some have replaced it and some not
confused.gif


Just wondering if it's best to leave it out or if it's better to replace it when done??
 
[ QUOTE ]
The foam in the lid...remove it, put the glass covers and all that in and then replace the foam?


[/ QUOTE ]
The lid foam also works great as a flash gasket. An easy way to remove it is by throwing the case in the freezer for about 3 hours. You can then use a butter knife and pop a corner free and pull the foam right out without damaging it.
 
Here's a picture of the last cam I built. It's much like Ironwoods foam cam except it's a Sony S600. I was testing it this weekend along side of a P41 and it only is about 0.5 seconds slower shutertime than the p41 on night shots. But it has about 3x more flash than the p41 and is 6mp. If you watch closely you can buy these for way cheaper than a p41. I picked this one up on E-bay for $56 shipped. I installed the glass on the outside of the case so there was room for the extendable lense.
12PICT0027-thumb.JPG

12PICT0017-thumb.JPG

I took this picture about 3 minutes after I painted it, It's shiny because the paint is still wet.
 
Pete- On the 600 how did you mount the glass on the outside? Did you use a UV filter ring or just glue the glass to the outside?
I'm working on an S600 right now (still waiting on the BG2). I put the cam in the back of the 1040 facing out the front. I used thin glass from Whitetail Supply and PT1100 tape and the lens just barely clears it. The downside is that the flash isnt right up against the glass that way. I have 2 more S600's setting here so I can do them differently.
 
[ QUOTE ]
Cam2-1.jpg


Cam1.jpg


[/ QUOTE ]

It's getting down to the wire...my first "vman hack job" should be arriving soon
not_ripe.gif
not_ripe.gif


Only now I have to actually do something
crazy.gif
grin.gif


I've been pouring over everyones home brew pics and posts...and it seems no two are alike
confused.gif
confused.gif


The pic above seems the closest to mine at this point.

Do I have to remove the rubber gasket and cut it if all my "stuff" is in the lid??
confused.gif


As shown here:
Preparing the case

This is my lid...can I mount everything to the lid? It looks like most have the P-41's mounted in the case?

Millcut.jpg


TP's case:

997inside_of_cam_2.JPG


Do I need the rubber flash gaskets if I put my foam back in?

P4,Pix,1040%201%20(600%20x%20450)%20(600%20x%20450).jpg


Shredders case:

933DSC00708.jpg


Pete's case:

12PICT0027-thumb.JPG


Ironwoods case:

547camera_002resized.jpg


My TE case from the outside:

TrailsEndpre-cut.jpg


I ordered my fist cases with no clue what I'm doing or why. When I saw the clearance ground in the lid I just assumed I would mount the P-41 there but I haven't seen one done like that.

Any advice on foam vs Hags rubber flash gaskets?

Can I mount everything in the lid?

If the cam won't mount in the lid...just wondering why TE offers it that way?
confused.gif


Heading back to the hardware soon...I see what TP meant by "a thousand trips to the hardware"
doah.gif
 
dbltree,
I don't know exactly what components you're using other than the cam but just going off your pics it appears that the case was drilled for the cam to sit on the bottom of the case. If so, hopefully the mod to your cam will have the cabling coming out the top end of the cam. I can't imagine mounting a P41 into the case lid myself but maybe it can be done. The grinding to the lid may have been done for clearance although I think the lid clearance is more an issue for the P32's than the P41's. I didn't have any grinding to my case lid. Have you had the rubber bladder in the case out yet because maybe he ground on that side too?? You can use that foam in the lid and cut out holes to match the hole pattern to your lenses to act as a sort of front side gasket for the camera face AND cover up any Goop or similar that was used when applying the lenses for a clean, finished look. Depending on which board you have, you'd either mount it to the back of the case looking forward toward the lid, or you'd mount it to the lid itself so that it's spaced back away from the PIR fresnel the proper amount. That distance is derived from the length of the standoffs that are used when mounting the board. In other words, if you're using a .65 fresnel, you want .65 inches (5/8") of space between the board's PIR sensor and the fresnel lens. Hopefully, if your board uses dipswitches, it'll work out so that you have access to them in order to make changes. If that's a 1040 case, a piece of foam (same thickness of the lid's foam) can be placed behind the cam which makes for ideal spacing of a P41's front end to the lid foam although I have the case rubber removed and then cut off the outer edge to make the rectanglular gasket that seals the two case halves and I didn't further use the remaining material. Even with the foam and/or gaskets on the lid though, you MIGHT still have flash bleed potential between the flash hole and the shutter hole particularly if there's any Goop that spans that small bridge between the two drilled holes. (If your lenses are recessed into the case lid, this may be a non-issue). The workaround for this is to either put some black tape on that bridge or what I think works even better is to run a bead of black colored caulking down that bridge to block the flash from bleeding over to the shutter. For that reason, I like to wait to apply the lid's foam permanantly until I verify I'm free of flash bleed. I'm kind of shooting from the hip here without knowing all of your specifics but hopefully that gives you some ideas and helps more than it confuses. Sorry about the length of the post and how many directions it went but I was trying to hit on everything that came to mind.
 
[ QUOTE ]
Have you had the rubber bladder in the case out yet because maybe he ground on that side too??

[/ QUOTE ]

doah.gif
blush.gif
Ok...that explains that part!
grin.gif


TEPrecutcase.jpg


I'm using the BG2 board and P-41 combo, if that explains some of my ??'s.

Amazing how the simplest assumption can lead one down the wrong path...
smirk.gif


I see that vman has added pics at the start of this thread as far as placing the lenses also.

I have a case in the freezer...so I'll be starting something soon...

even if it's wrong
crazy.gif
grin.gif


Thanks for the feedback!
waytogo.gif
 
You're going to do a fine job I'm sure. Besides, if you run into any questions, post them. One of the more key things to remember is to try and get the sensor on the board to line up as closely as possible with the FOCAL POINT of the fresnel lens which is typically located dead in the center of the lens but depending on how perfectly it was glued, not necessarily dead in the center of the hole in the case. Enjoy the build.
 
[ QUOTE ]
One of the more key things to remember is to try and get the sensor on the board to line up as closely as possible with the FOCAL POINT of the fresnel lens which is typically located dead in the center of the lens but depending on how perfectly it was glued, not necessarily dead in the center of the hole in the case

[/ QUOTE ]

I'm about to get my case out of the freezer and get started. Thanks for the reminder on centering the lens...I'm afraid to ask what happens if I'm off a little
crazy.gif


(ok...I'm talking about the lens...not me!
blush.gif
grin.gif
)
 
Going over the original list...I didn't notice a fresnel lens on it, only a flash enhancer lens which may or may not be required.

I ordered the flash enhancer lens but no fresnel
crazy.gif
blush.gif


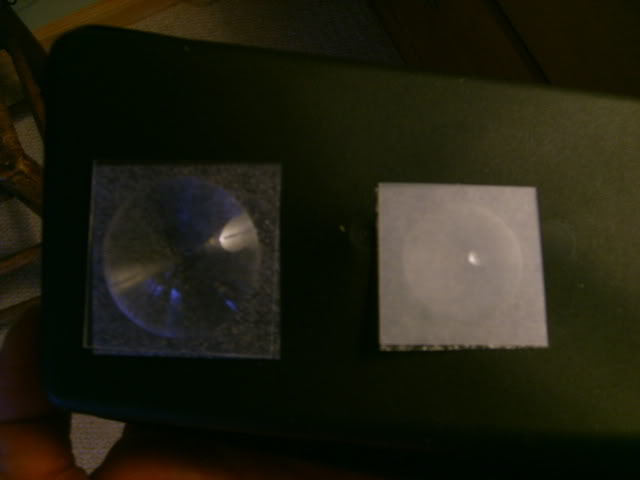
However after digging thru two Hags orders I noticed I have one extra lens that looks like it may be a fresnel lens.

Lens.jpg


The one on the right looks a lot like this one from TE:

Pir%20lens.jpg


and the one on the cam building link

project20.JPG


The one on Hags is hard to see:

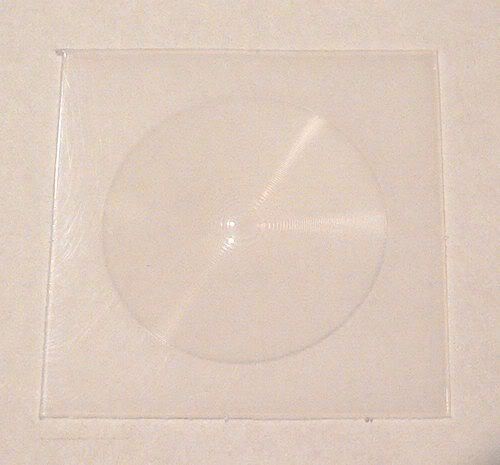
Fresnel.jpg


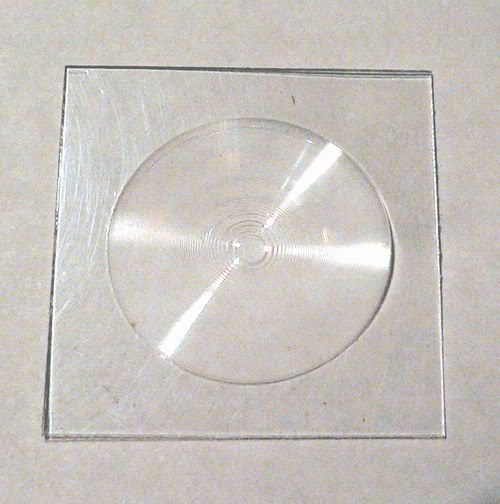
But the Hags Flash Enhancer seems pretty clear:

Enhancer.jpg


I ordered a 1/2 dozen Fresnel Lens's from Hags but if I got lucky and "inherited" one I can get one cam done...any advice?
confused.gif


At least I should have been able to ask every possible dumb question by the time I'm done...
blush.gif
blush.gif
 
The flash enhancer will be quite clear, the fresnel will look milky in color and be very tranlucent. Both have ridges on them and those ridges need to be applies so they are toward the INSIDE of the case when glued. When you ordered those fresnels, did you order all standard fresnels (.65)? And in addition, you should have specified when ordering the board standoffs whether you'd be using a standard or wide angle fresnel. I'm just saying this so that you don't inadvertantly glue on a wide angle fresnel using standoffs designed for a standard fresnel or the other way around.

As to getting the fresnel and sensor lined up together, even if you're off a little bit, it's likely going to work really well. It's just that the closer you are to perfect the more liklihood you're going to get your maximum detection distance and also the side benefit of catching the animal in or near the center of most of your pics.
 
Top Bottom