waltrogers
Ms Delta
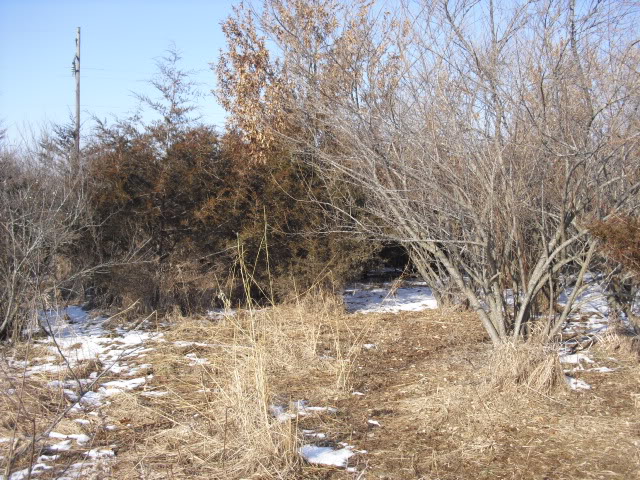
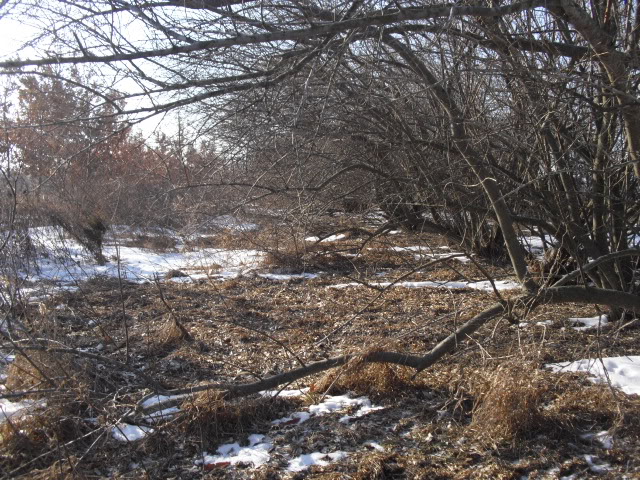
Dang Paul, seeing that dibble bar again makes my back hurt! I recall spending some quality time with it during a day of cold, pouring rain!


Dang Paul, seeing that dibble bar again makes my back hurt! I recall spending some quality time with it during a day of cold, pouring rain!

I've broke too many spades planting trees in the past. I want to get a dibble bar. I did a google search and came up with many different models. Which one should I get? I'm going to plant 600 18-24" bare root cedars this spring.
Thanks
I'll be sure to have it sharpened and ready for ya Walt...

")
From Oikos, I'll order: bimundor and sargent for the bottom...burgamble and burlive for the uplands....25 of each variety so 100 total. Next year well do some chestnutleaf in uplands and maybe schuettes and schubur in the bottom, if there is space available....ie limited acerage. He has some good prices on some species in 100ct for those interested!
After much correspondance, Ken recommended those varieties. He suggested a 20x40' or 40x40' spacing, which is considerably higher than the 10x12' or 12x12' spacing recommended by Okie state NRCS. Not sure exactly what to do on spacing? Any comments there?
")

Do you drill additional holes only in the upper 2/3rds or over the entire length of tubes?
Are Oikos' paper pot seedlings considered 'containerized' or 'bareroot'? Is dibble bar planting acceptable for paper-potted seedlings? Ken mentioned he used some type of spade and indicated posthole diggers would work too. He will ship paper potted about anytime.
Getting excited about spring already!! :way:
Ever used the fert bags?
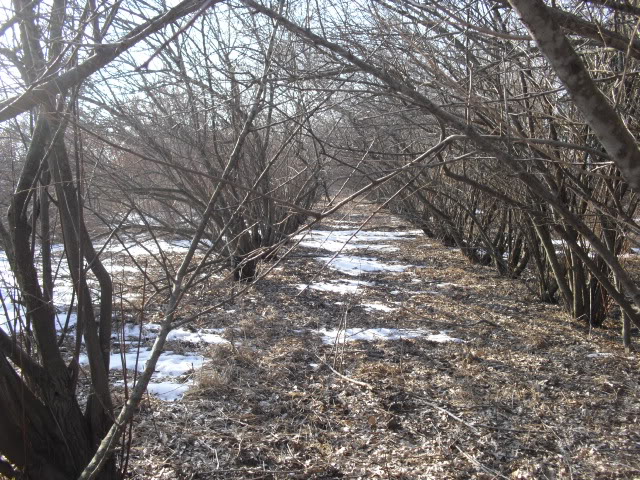

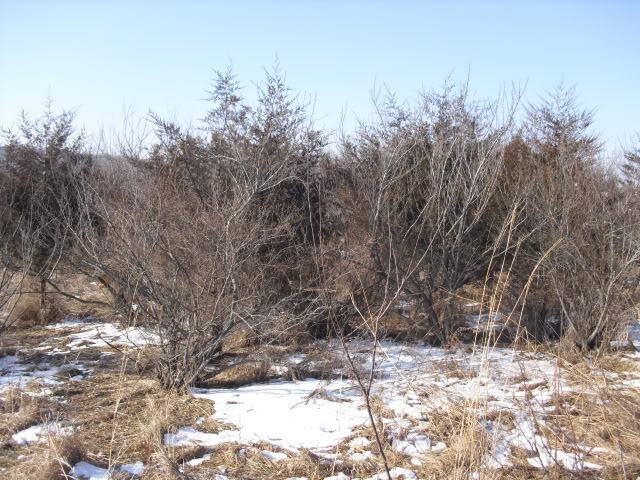
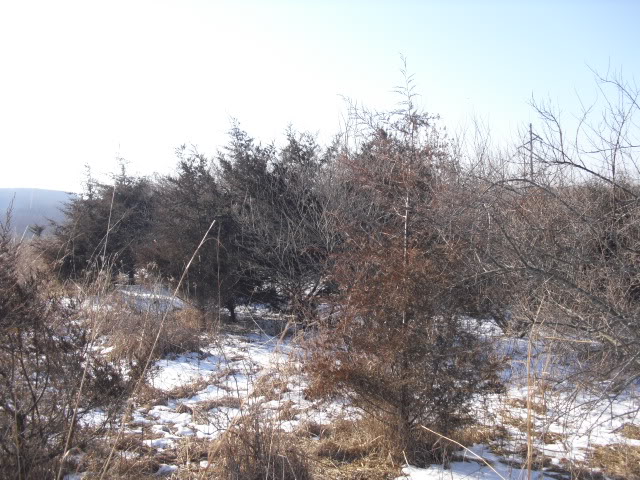
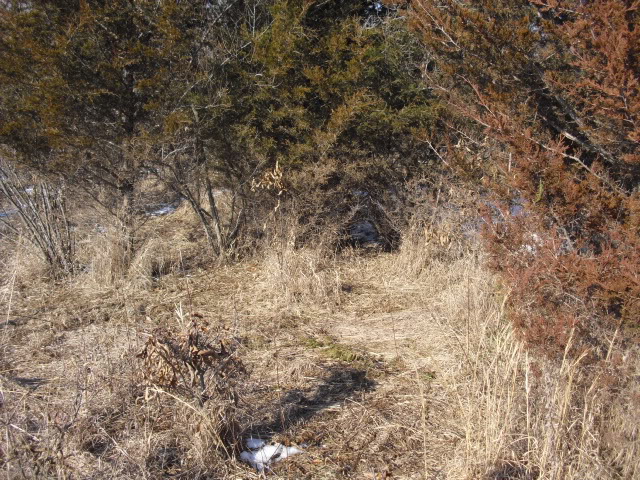

Are the shrubs about like everything else you plant and need to be protected or are they pretty good at poping back from being browsed by the deer? I would think they would handle the browsing fine considering must of them can handle pruning. Thanks in advance for the reply. Great pictures dbletree, I love seeing the benefits or your hard work!

GROWING TREE SEEDLINGS
My Current Preferred Methods
By
Carl Whitcomb PhD
Lacebark Inc. 2104 N. Cottonwood Road, Stillwater, Oklahoma 74075
Frequently I get the question, “If you were growing tree seedling, how would you proceed?” Here is a summary of the technique that I have found to work best year after year and yield the strongest seedlings with the best root systems and that rarely require staking:
1. Get local seeds or seeds adapted to the area where you expect to sell the seedlings.
2. Store most seeds dry in zip-lock poly bags in a refrigerator at a temperature of 33 to 35 degrees F. Be sure the seeds are dry on the surface before storing. With oak acorns, dry somewhat longer, especially if it has been rainy just prior to or during seed collection. The reason for this is to avoid moisture inside the acorn in the space between the true seed and seed coat that would allow fungi to grow.
3. With oaks in the white oak group that insist on germinating as soon as they fall or sometimes while still on the tree, the only practical procedure is to collect and plant as soon as possible. Live oaks can sometimes be collected and stored dry until spring as this is the preferred way.
However, if that is not an option, plant the seeds in 18 or 32 cell RootMaker II trays that have been filled with a good soilless mix and are on wire benches at least 16 inches (one cinder block on end) high for good air circulation for air-root-pruning. Then protect from freezing - nothing more. The temptation is to place them in a heated greenhouse but this leads to problems. If you place the seedlings in a heated greenhouse, set the thermostat at about 35 to 40 degrees F, no more. The objective is just to avoid freezing and any root damage, cut NOT to stimulate top growth. If there is no heat in the structure or in situations where no structure is available, simply cover with any good insulating material whenever freezing is threatened. The fact that light is excluded for a day or two or even a week is not a problem.
4. With seeds of species stored over winter, the preferred time to plant is in late winter or early spring. DO NOT plant seeds in a greenhouse in Dec. or Jan. in an attempt to ‘get a jump on the season’. In winter, the days are short, light intensity is low and the sun is low in the southern sky. Seeds that germinate under these conditions create tall, spindly seedlings with poor root systems. It is much better to wait until the sun is higher in the sky, days are longer and light intensity is higher.
5. Place one or two layers of newspaper (no more) in the bottom of mesh flats and add about 1 to 1.5 inches of mix. Then add the seeds in a single layer – just so there are no seeds on top of others. Add enough additional mix to cover the seeds about ½ to ¾ for oaks and just barely cover other species. The flats must be on raised wire benches. Water as needed.
6. Mice and rats LOVE most seeds. They will bypass poison grain and traps baited with peanut butter to get to many tree seeds. The ONLY way I have found to keep rodents out of my freshly planted seeds is to place the flats on benches suspended from the roof of the greenhouse. I use two 2 X 6 boards 16 feet long, with cross members every four feet that space the boards about 16 inches apart. A light weight chain (like a dog chain) is used on all four corners to suspend these ‘benches’ from the roof structures. By using screws with head size such that the chain can be slipped over as the connecting mechanism, when these ‘benches’ are no longer needed, they can be raised above head high, reconnected to the chain so that they are out of the way for the rest of the season.
7. As soon as the seeds germinate, transplant one viable seedling into each of the 18 or 32 cavities in the RootMaker II trays. [This procedure does take time, but the payoff is that you have each cell within a tray with a seedling at the same stage of development, thus a more uniform crop. On the other hand, if you plant seeds directly into the cells, some germinate sooner, others later and some not at all and you have many more culls at time of transplanting.]
Do not procrastinate. With oak acorns, as soon as the primary root is out and has turned down, even only ¼ to ½ inch, it is time to transplant. If you have the seeds mostly covered, watch the bottom of the flats. As soon as you see a white root tip sticking through (a blackened end of a root if air-root-pruning has occurred), at least some of the seedlings are ready. Remove only those seeds with primary roots extending out and down enough so that down is very clear. DO NOT disturb the other seeds that have not yet germinated for if you do, you will have kinks in the stems at the root-stem interface that will render many useless. Just prior to germination, seeds perceive what is the up side of the seed and the side that is down and respond accordingly. If you rotate a seed 180 degrees after this pre-germination adjustment, the root will grow up first, then bend and grow down. The reverse will happen to the stem.
This is mostly a concern with those species where the seed stays put and the root grows down and the top grows up. With those species where the seed is lifted above the soil at time of germination (pines and most other conifers), this is normally not a factor.
8. I use a mix of 50-50 peat and perlite most of the time (but a mix of fine pine bark, peat and perlite also works well) – the exception is when a bale of peat is opened and it is extremely fine, sometimes even dusty. When I encounter such peat, I set it aside to be used in the mix for larger containers and try another bale. What I look for is light colored peat with good fiber structure. Likewise, I have on occasion opened a bag of coarse perlite only to find it is not very coarse or has lots and lots of fines. When that happens, that too gets set aside to be used in the mix for larger containers. DRAINAGE AND AIRATION AND WATER HOLDING CAPACITY IN SHALLOW CONTAINERS WITH SMALL SEEDLING IS TOO IMPORTANT TO TAKE ANY CHANCES. It is tempting to simply use the especially fine peat or perlite and add more of the other material to compensate. This is NOT a good practice as the very fine materials will erode to the bottom of the small containers and impair drainage.
9. To the mix for the 18 or 32 cell RootMaker II containers, I add 1.5 pounds of Micromax micronutrients, 6 pounds of Osmocote 18-6-12 (NO substitutes) and from zero to 6 pounds of dolomite, depending on the quantity of calcium dissolved in the irrigation water. You MUST know the chemistry of your irrigation water if you expect to grow good seedlings.
10. As soon as the seedlings are a few inches tall AND all chances of frost have passed, either move the seedlings out into full sun or remove ALL poly from the greenhouse to expose the seedlings to FULL sun and WIND to flex the stems. Full sun and flexing of the stems stimulates root growth as well as strengthening of the stems.
11. Shortly after moving the seedlings to full sun, topdress with about 4 pounds of Osmocote 19-6-12 (3 to 4 month formulation) per cubic yard. To determine the correct amount to apply, multiply 11 cu. in. per cell x 32 =352 cu in per tray. Or if you prefer the 18 cell tray, multiply 25 cu.in. per cell x 18 = 450 cu. in. per tray. Divide 46656 (the number of cubic inches per cubic yard) by 352 = 132 trays can be filled per cubic yard with the 32 cell trays or divide 46656 by 450 = 103 trays can be filled per cu. yd with the 18 cell trays. To get the volume of Osmocote to a practical level, simply divide 132 trays by 4 = 33 trays of the 32 cells should be covered with one pound of Osmocote or 26 trays of the 18 cells. Once you apply one pound over the proper number of trays the approx. density of fertilizer granules can be seen. Thereafter, I simply spread Osmocote 19-6-12 over the remaining trays at that same density.
12. As soon as the seedlings have reached the point where the taproot has reached the bottom of the container and was air-root-pruned, which in turn stimulated secondary roots to form and those in turn were air-root-pruned by the openings on the sides of the RootMaker containers and tertiary branch roots have formed, IT IS TIME TO TRANSPLANT. Do NOT think of how long you can leave the seedlings in these or any other container. DO focus on how SOON the seedlings can be transplanted into the next step in the production sequence.
13. If you transplant seedlings into one or three gallon RootMaker containers, use the standard mix (preferably 3 parts ground conifer bark, 1 part peat and 1 part concrete sand), with 1.5 pounds of Micromax micronutrients plus 15 pounds of Osmocote 17-7-12, plus the appropriate amount of dolomite relative to your irrigation water quality, per cubic yard.
14. If you transplant into 5 or 8 inch knit bags in cinder blocks, use the same mix as noted in item #13 only instead of the 17-7-12 Osmocote, use 8 pounds of Osmocote 18-6-12 PLUS 4 pounds of Osmocote 19-6-12. The reason for the change is due to the cooler temperatures in the cinder blocks.
In north-central Oklahoma this regiment provides tree seedlings four to six feet tall in October following planting of the seed in March. Tree seedlings that begin to get too crowded prior to October should be spaced further apart or shifted into the next container size desired. DO NOT allow the tree seedlings to be crowded as they will stretch upward and you or your customers will be caught in the quagmire of staking. Most tree seedlings grown with timely transplanting from the propagation size container and moved into full sun and wind as soon as possible, then transplanted into the next size container at the optimum time do not need to be staked. In addition to the items noted above, timing, attention to spacing and approaching conditions of crowding and proper water management are critical ingredients. Do not underestimate their importance.